Hiking Mount Storm King in Olympic National Park, WA
Hiking Mount Storm King Trail is a rite of passage for Washington adventurers. Whether you’re a Washington local or a tourist looking for the most epic trails in the state, the Mount Storm King hike should be at the top of your list!
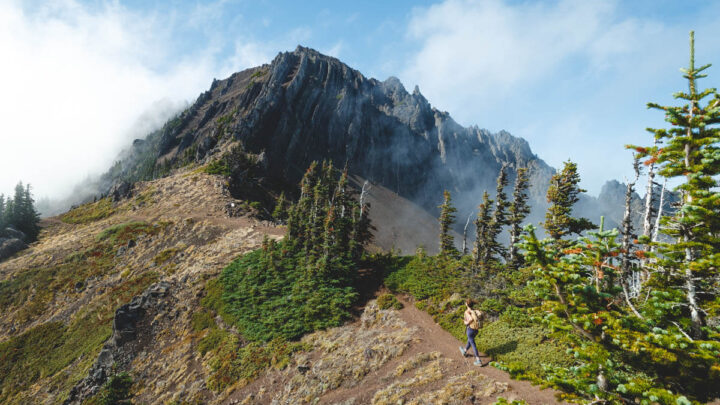
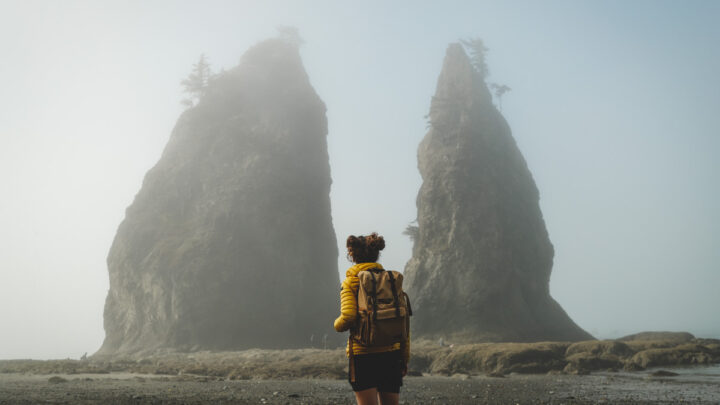
This gruesome trek is no easy feat. However, the panoramic views over Olympic National Park and Lake Crescent below are worth the effort.
No matter if it’s your first or fiftieth time embarking on the Mount Storm King hike, you’ll need to be well prepared. In this guide to hiking Mount Storm King – you’ll find directions on how to get there, insider tips, and everything else you can expect from this breathtaking trail.
Hiking Mount Storm King
Distance: 5.3 miles
Difficulty: Hard
Type: Out & Back
Elevation Gain: 2,077 feet
Pass: Pass Required
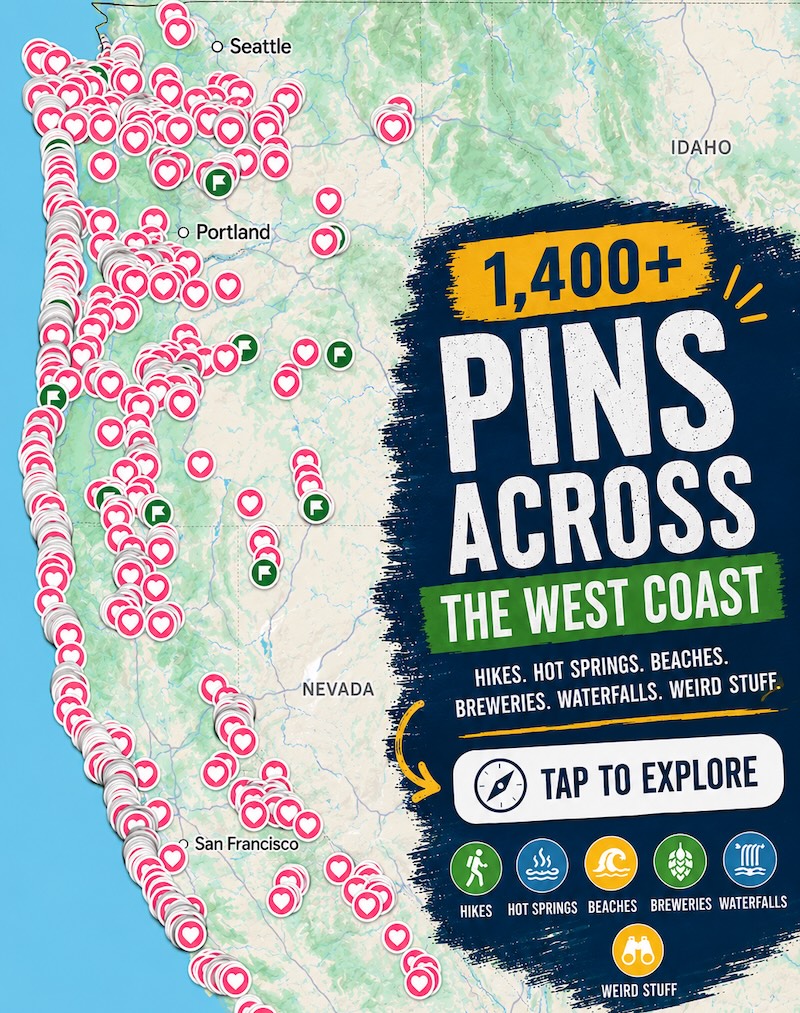
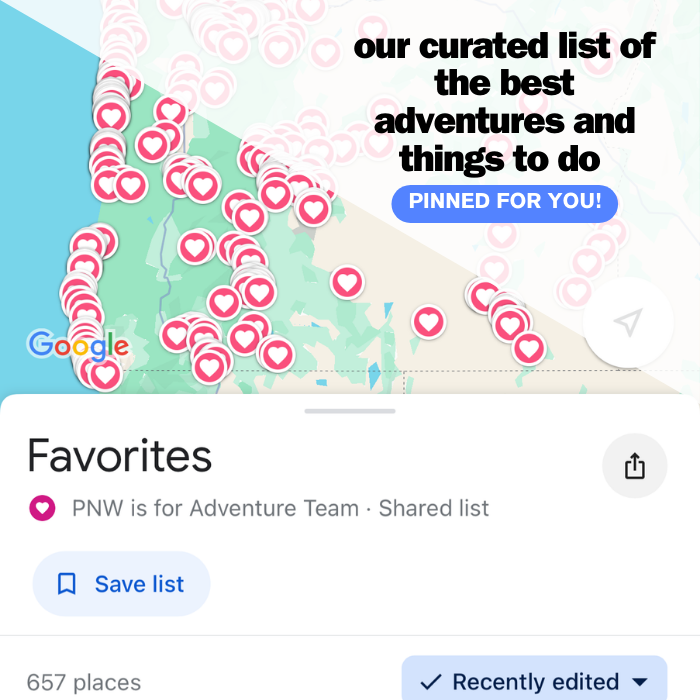
📍 GET THE ULTIMATE PNW MAP 🗺️
Get our curated list of the best adventures, things to do, and places to grab a brew loaded onto your maps with just two clicks!
✅ Waterfalls ✅ Hikes ✅ Viewpoints
✅ Craft breweries ✅ National Parks ✅ 1400+ Pins


How to Get to The Mount Storm King Trailhead
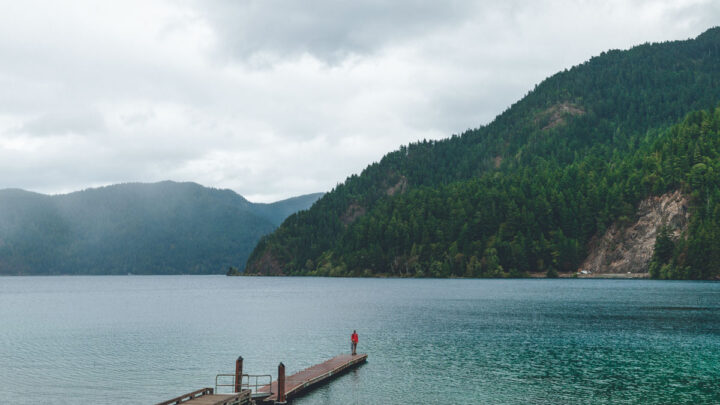
The Mount Storm King hike begins at the Storm King Ranger Station, located on the southeast side of Lake Crescent inside Olympic National Park.
The trail is just a hop skip and a jump away from Port Angeles (about 19 miles) and a bit further but still manageable from Seattle (about 100 miles).
The trailhead begins at the Storm King Ranger Station off Highway 101 (Olympic Highway).
At milepost 228, you’ll take a right turn onto Lake Crescent Rd. There is a large parking lot with access to bathrooms – last chance to go before you begin your ascent of Mount Storm King!
Because the trail is located inside Olympic National Park, a pass is required to park and hike.
However, you will not drive by any booths when accessing the parking lot, so make sure you have your pass paid for and displayed on your windshield ahead of time.
Some hikers take their chances and don’t purchase a pass, but know that you run the risk of a hefty fine if you do so.
RELATED: 15 Best Hikes in Olympic National Park, Washington
Hiking Mount Storm King
Beginning of the Hike
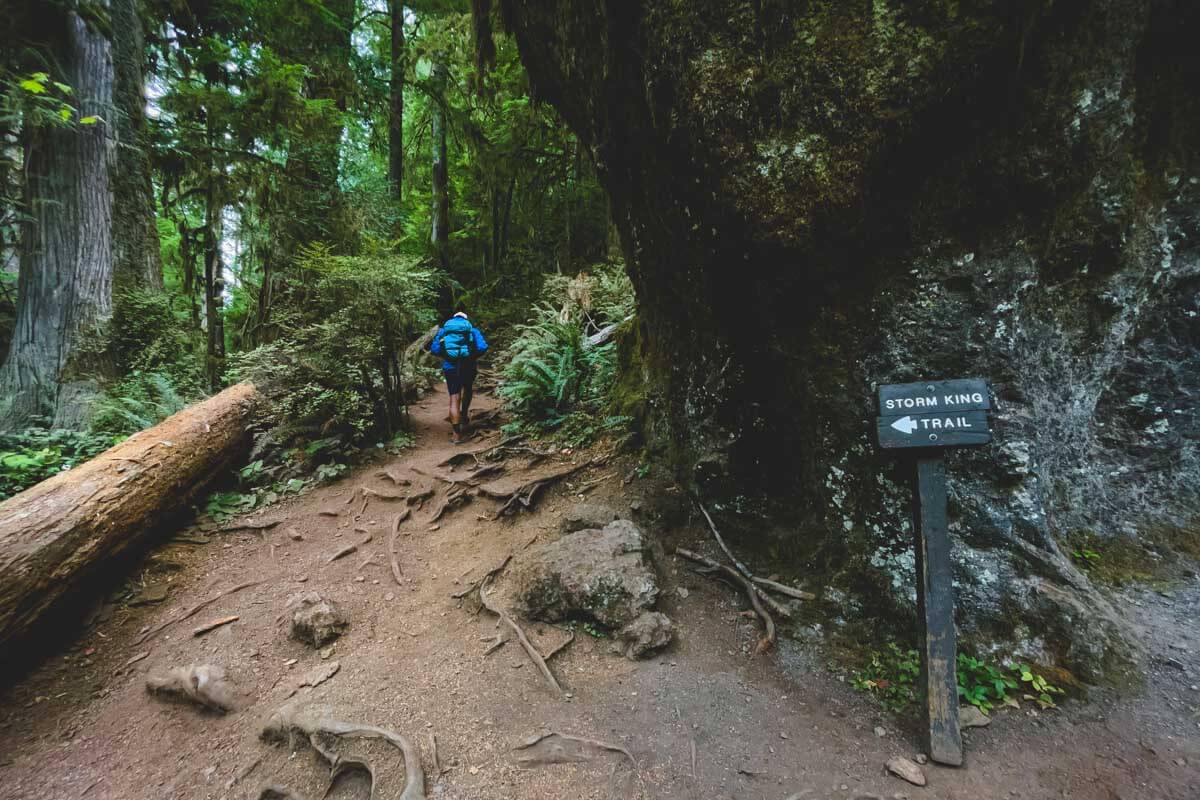
You won’t see a specific trailhead for the Mount Storm King hike from the ranger station, so follow signs for Marymere Falls.
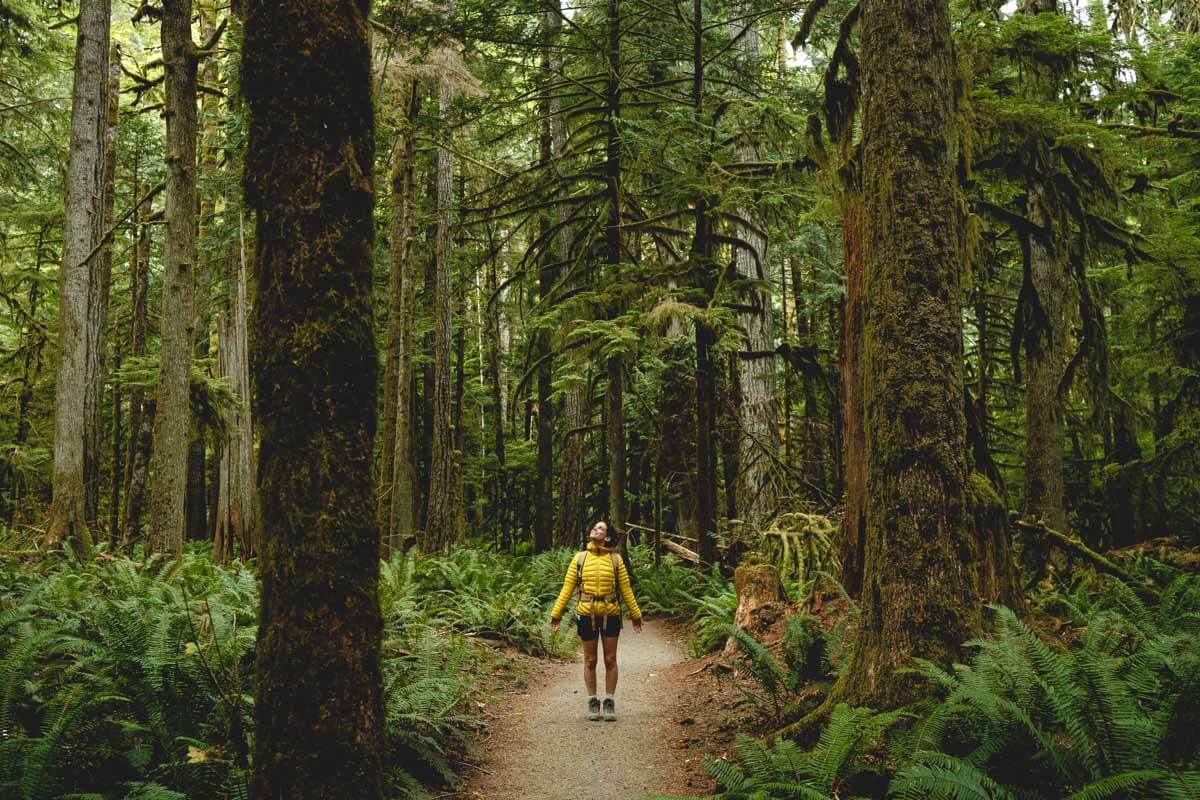
For the first half-mile or so, you’ll hike through a flat, verdant forest, but it’s all uphill from there. You’ll spot a sign for Mount Storm King trail on your left, and this is where your legs will start to burn.
The trail is consistently steep all the way up, with lots of switchbacks and protruding tree roots. The good news is you’ll be surrounded by the beautiful dense forest, which provides plenty of shade on hot sunny days. There are also lots of areas to stop and catch your breath along the way.
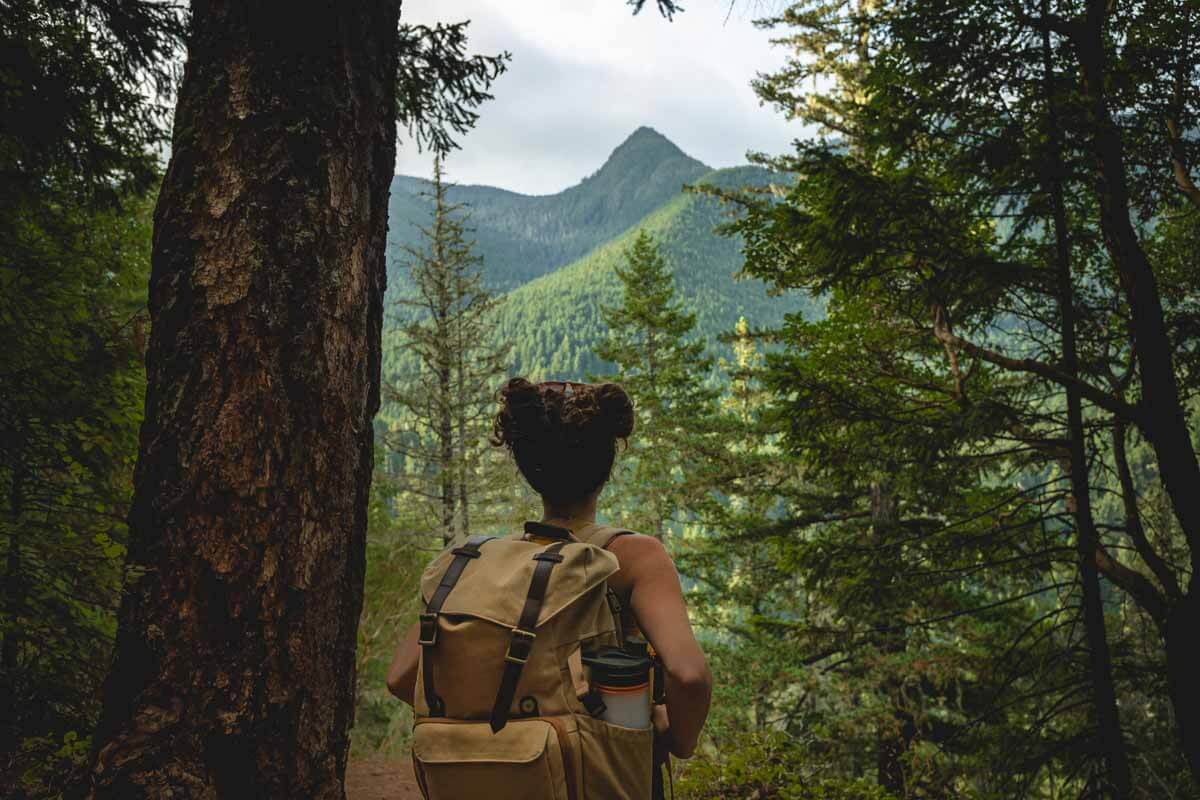
Once you get to the top of the forest (about 1.6 miles in), the trees start to thin out, opening up to stunning peek-a-boo views of Lake Crescent below. This is a great place to turn around if you’re out of juice as the trail gets even more difficult from here.

There are two viewing areas before getting to the difficult scramble and rope section. You’ll get a nice viewing area peeping through some trees and then an even better viewing area just before the rock scramble – so your efforts won’t be in vain even without summiting!
RELATED: Exploring Lake Crescent in Olympic National Park: Kayak, Hike, & Camp!
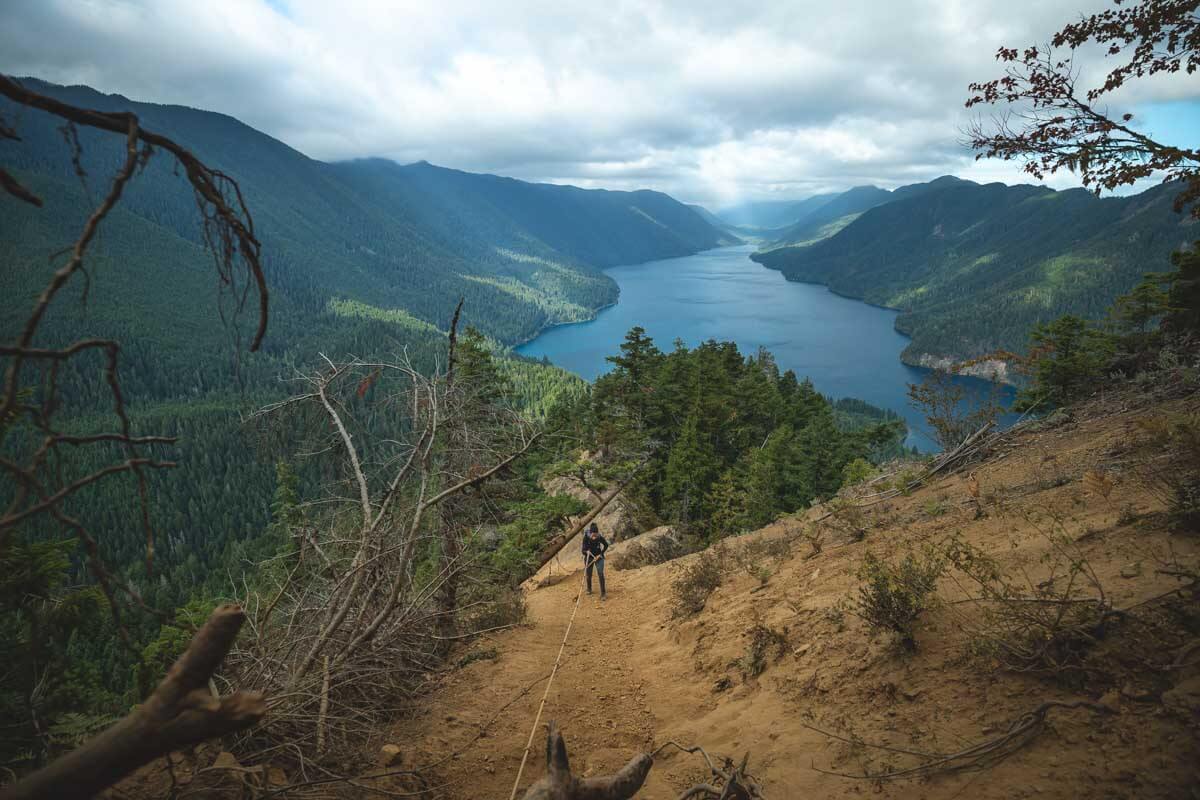
Ropes Section of Mount Storm King
The last section of the Mount Storm King trail is rocky, slippery, and quite daunting, even to the most adventurous hikers.
After you pass the “end of maintained trail” sign (about 2.5 miles in), you’ll come across a pile of gloves and a large rope that will help you scale up to the summit.
For some, this is the most fun part of the trail; for others, it is pretty terrifying. Either way, this section of the trail is incredibly challenging.
There are a few rope sections. Some parts are rocky, some are sandy, and some portions may be slippery. There are steep edges along the sides, which add a layer of difficulty for those who are even slightly afraid of heights.
The ropes, admittingly, don’t help with confidence either as some are quite thin or attached to a branch that may or may not give up on its life!
Be careful with this section, take your time assessing, and at times, perhaps scramble quickly upwards instead of using the rope which is what happened a few times for us.
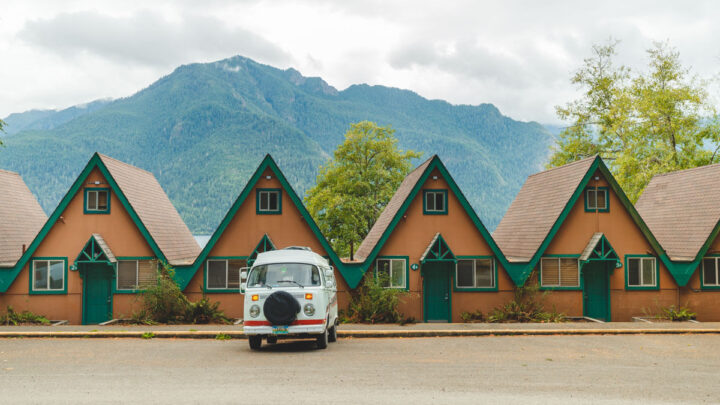
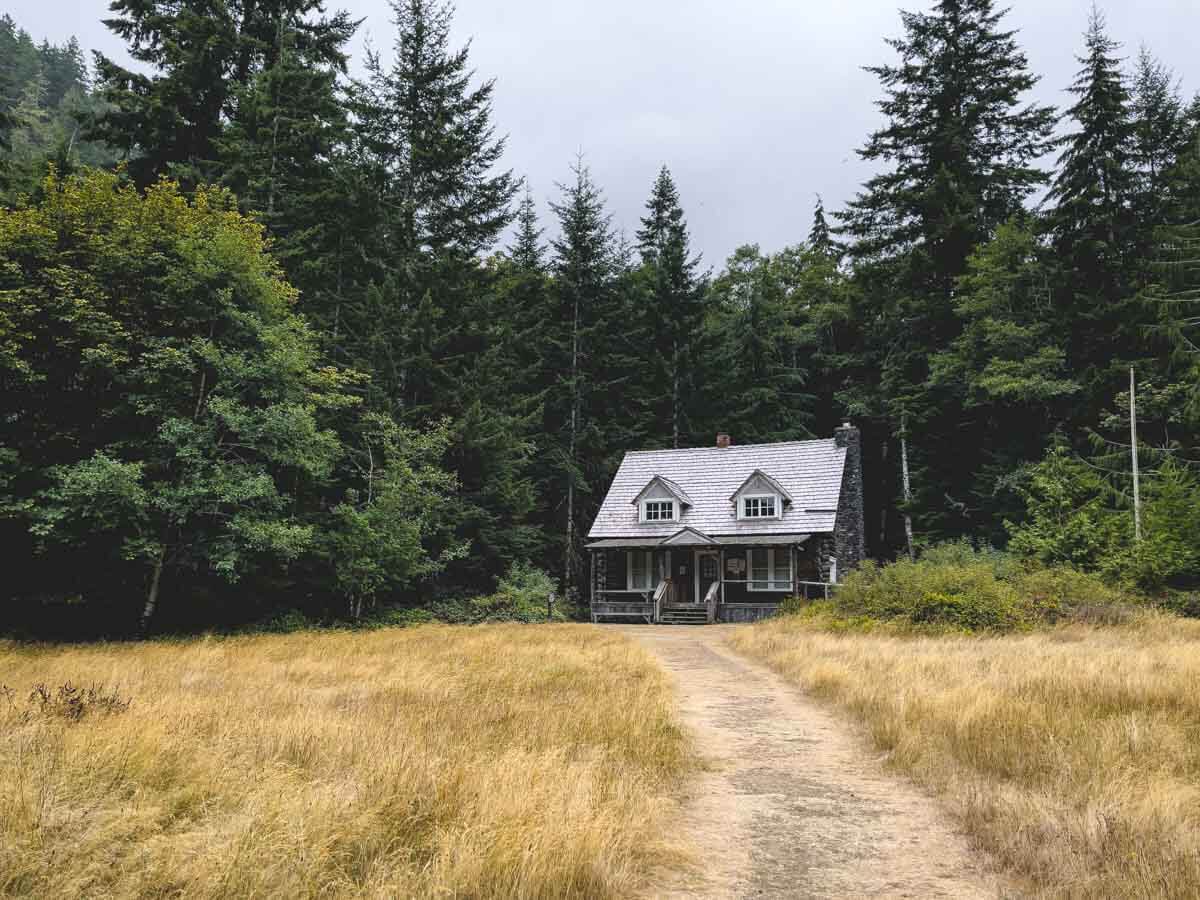
🏨 Need a place to crash nearby?
From rustic cabins to boutique inns—check prices and availability in just a click.
Summitting Mount Storm King
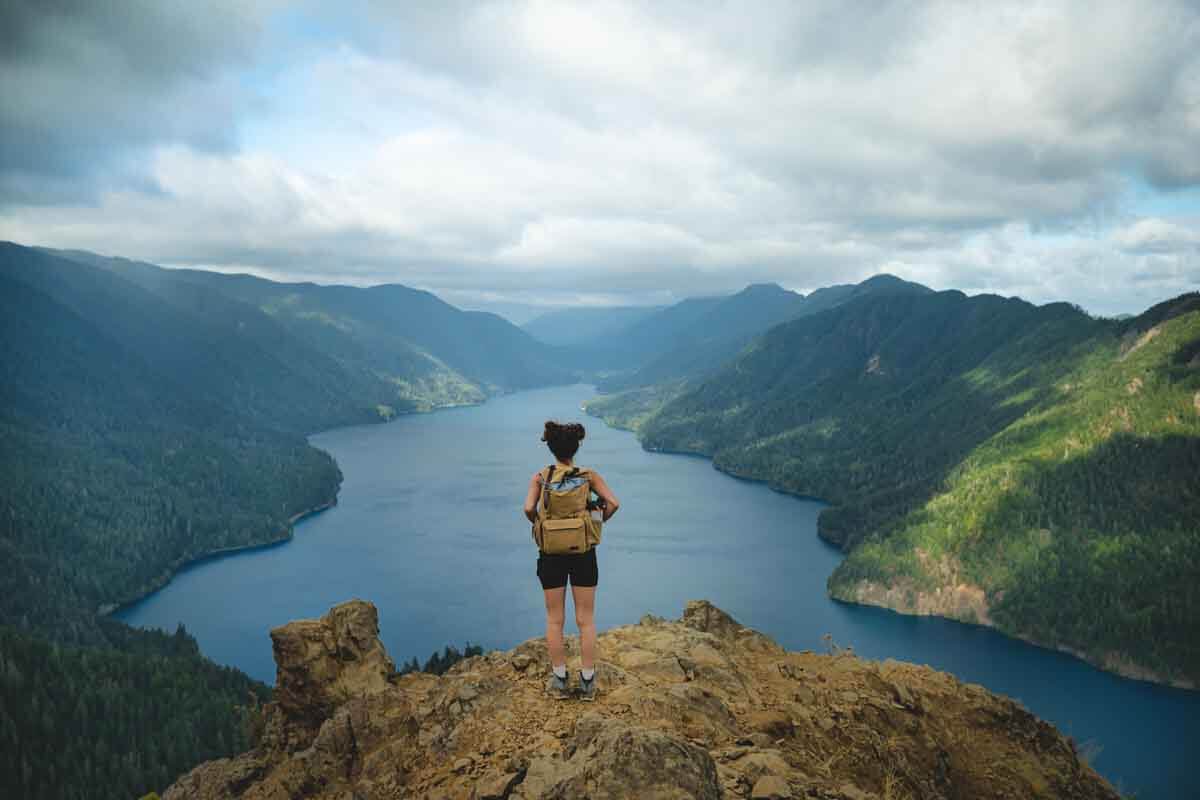
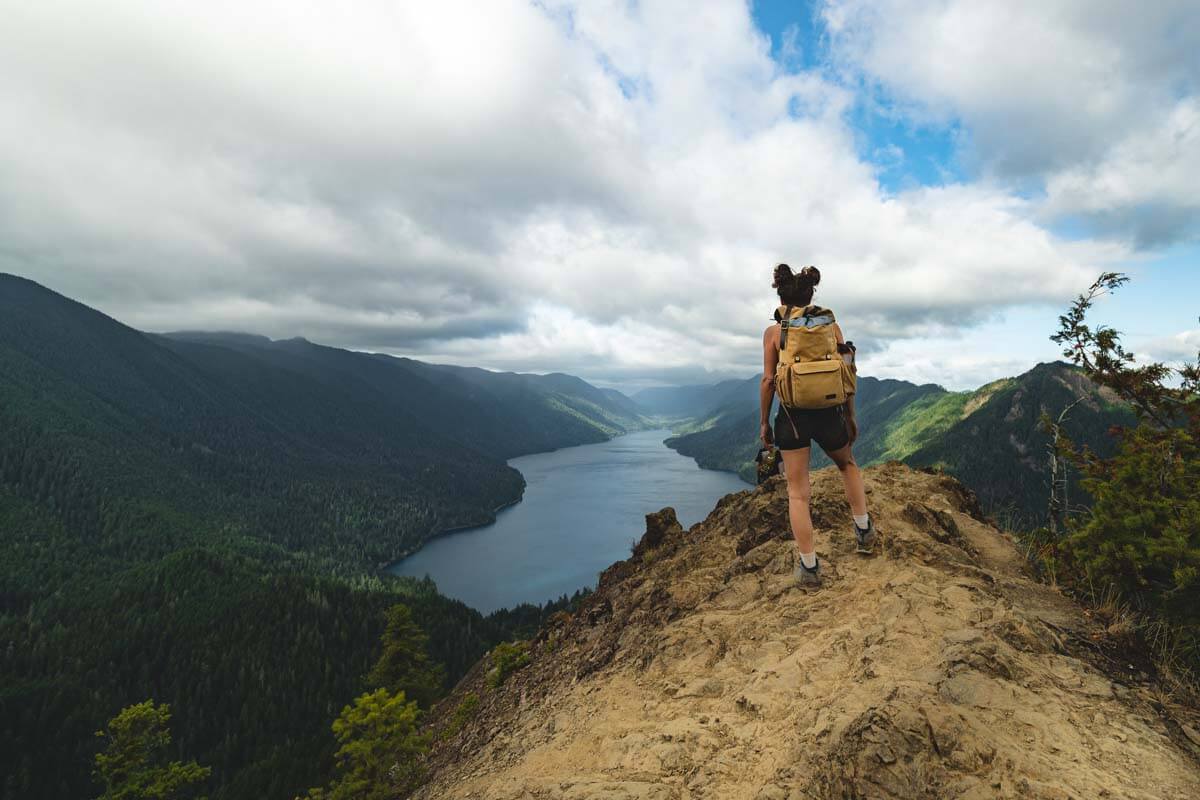
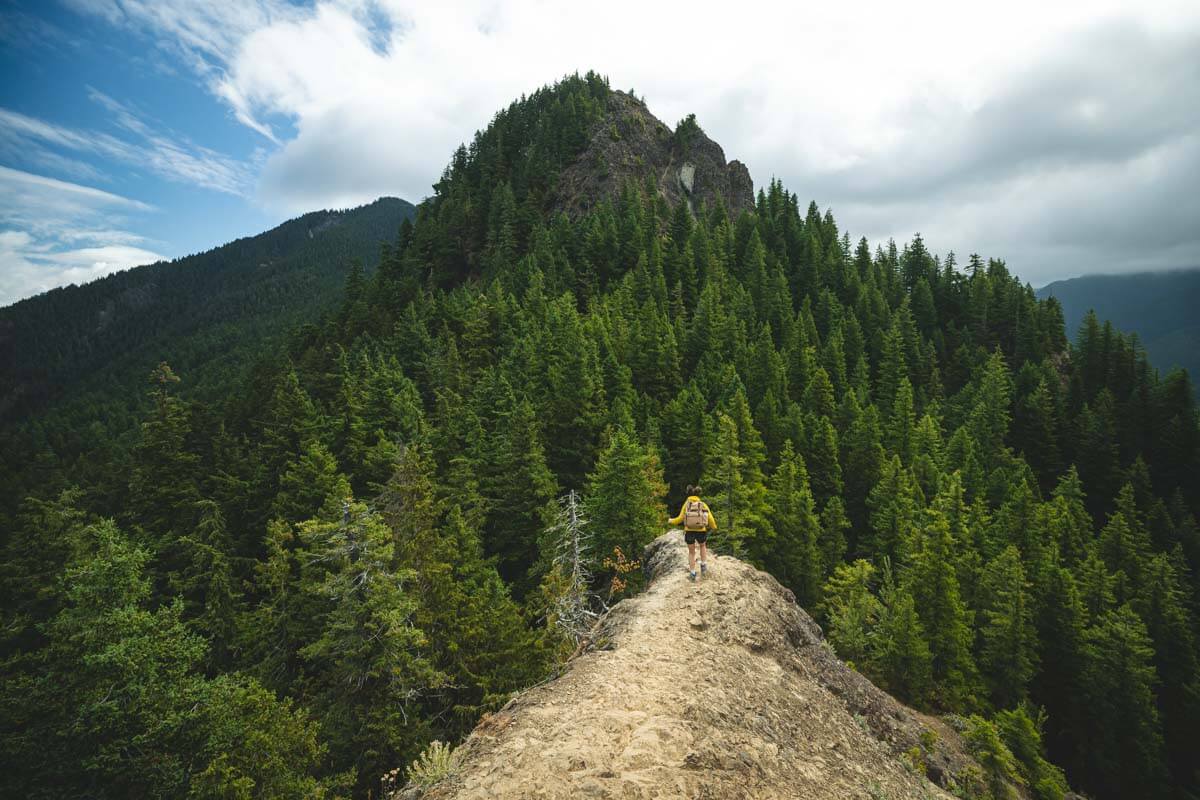
After you master the ropes section, the summit is just a short distance away. You’ll have to conquer a narrow rock ridge scramble with steep cliffs on either side, but after that, you will be rewarded with unmatched views of both sides of Crescent Lake and the forested mountainside below.
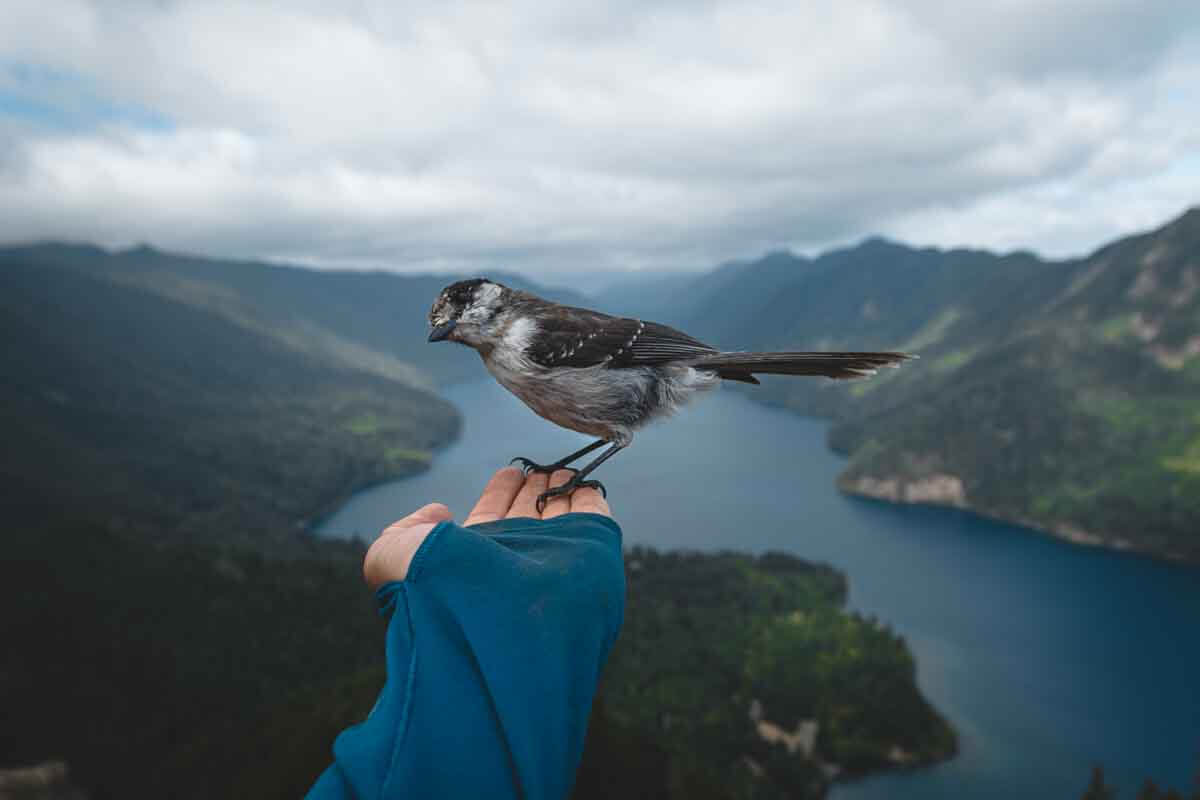
Take your time soaking up the views and listening to the congregation of birds at the top. After all, you certainly earned it!
Descending Mount Storm King
Needless to say, the descent of the ropes section is nearly as tricky as the ascent. It does get a bit easier if you take the ropes backward; make sure you get good traction with every step. From there, the rest of the way down is smooth sailing and shouldn’t take much time at all.
If you came early, the only thing you’ll have to worry about is stepping to the side a lot as tons of people will be on the way up.
Add Marymere Falls
If you have any extra time, consider adding on a detour to Marymere Falls. At just 1.7 miles, this is a short and easy add-on to the Mount Storm King hike. In fact, you’re already on the Marymere Falls trail since the start of it is shared with Mount Storm King.

The route is relatively flat with less than 300-feet in elevation gain. Take up the path where you left off to hike Mount Storm King trail. You’ll be turning left after coming down the mountain.
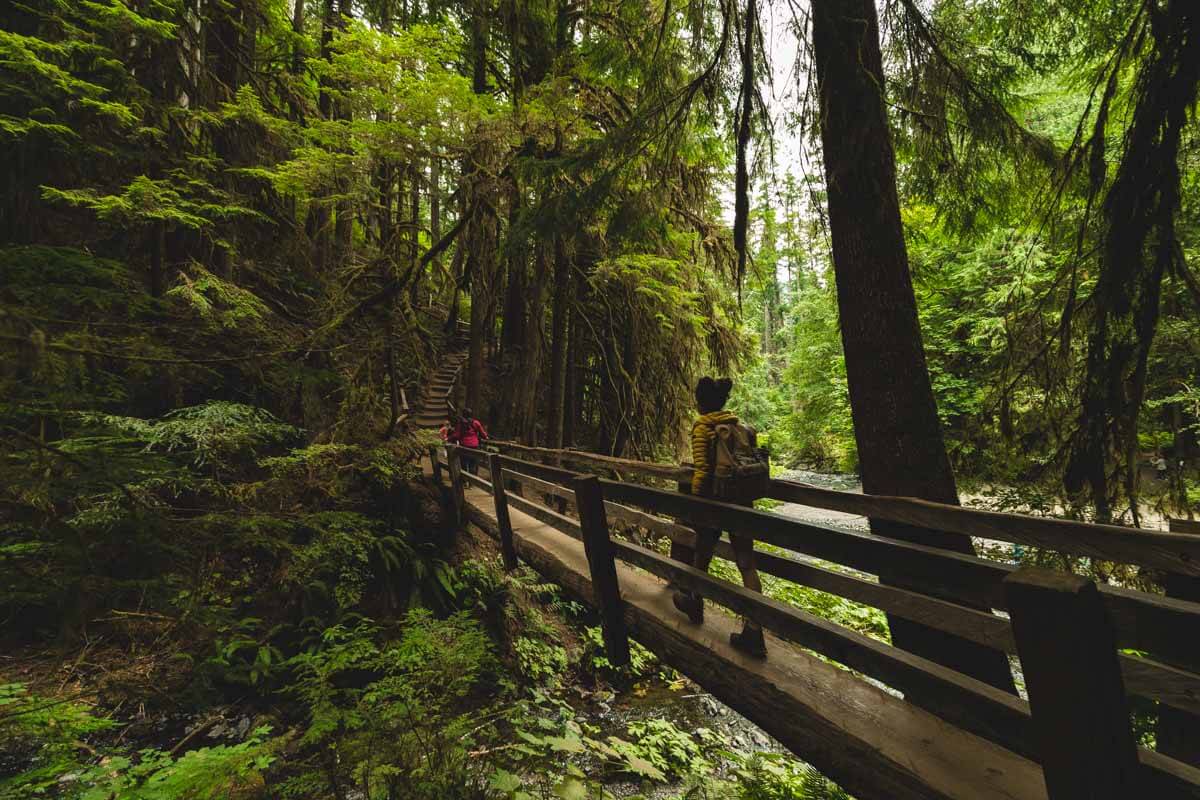
You’ll meander through quintessential Olympic Rainforest terrain, with misty air, old wooden bridges, and lush fauna surrounding the path. The falls themselves are also quite lovely to behold and a whole lot more peaceful to reach than the Mount Storm King summit.
Tips for Hiking Mount Storm King Trail
Best Time to Hike Mount Storm King
Hiking on a clear day is paramount. If you go on a hazy day, you won’t get to enjoy the incredible views you worked so hard to reach. Hiking between May and October will give you the best visibility, but always check the weather report before setting out.
Many people start the Mount Storm King hike in the late afternoon to catch one of the famous sunsets at the top. While this seems like a solid plan, the parking lot is often full by mid-morning, even on weekdays.
Hiking early in the morning is a much safer bet. The views are still incredible, and the trail will also be less crowded. Keep in mind the summit is pretty small, narrow, and literally has drop offs on both sides! You might need to wait in line to summit on a busy day because the top can only hold a few people. So take care.
RELATED: 25 EPIC Hikes in Washington to Tackle
🕒 Save hours of planning time! ⛰️
📍 Get The Ultimate West Coast Map
1400+ breweries, trails, waterfalls, beaches, and weird roadside stops—mapped for you!
What to Bring on the Hike
- Water & snacks – You will need to refuel a bit at the top.
- Hiking boots with good traction – We saw people attempting this in sandals and I can assure you this is a BAD idea. It would be pretty dangerous to do the ropes and cliffs in sandals!
- Hiking poles – Optional but could help. You won’t be able to use them as you get closer to the summit though and they could be annoying to carry during that time unless you have a proper bag to hold them.
- Lots of layers – it can get quite chilly at the top!
- Headlamp – If you are hiking before sunrise or after sunset.
Is There Anything Else Near Mount Storm King?
Yep! If you’re done with Mount Storm King but not your day, then stay right there, there’s more! At this point, the parking lot is pretty full too so you might not want to move your car.
If your legs can take it, the super easy and well-worth-it Moments in Time trail is another great addition. Don’t worry, it’s mega easy and flat so think of it as a bit of a stretch and cool down for your tired legs.
Meander along the verdant path that will lead you straight to the shores of the lake. Along the way, you’ll find really nice informative posts about the area, the lake, and the history.
The path will take you to the nearby lodge that has paddleboard rentals so you can even out your exercise for the day and give your arms a chance!
If you happen to have your own gear, then you can simply drop it in the lake just a stone’s throw from the Mount Storm King parking lot as there’s a boat launch right there.
If you’re staying around the general area, be sure to check out more things to do in Olympic National Park and more hikes at Lake Crescent.
More of our guides to Olympic National Park:
- Things To Do in Olympic National Park: 35 Must-Do Activities!
- Where to Stay in Olympic National Park
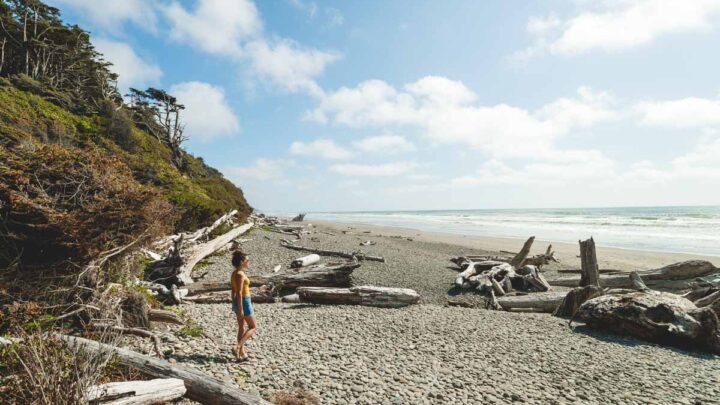
- 9 Incredible Olympic National Park Beaches to Explore
- Kalaloch Beach in Olympic NP: What to Know
- 7 Waterfalls in Olympic National Park
- 6 BEST Lake Crescent Hikes
- Marymere Falls Trail
- Exploring Lake Crescent
- Your Guide to Hurricane Ridge Trails
- Your Guide to La Push Beaches
- Hiking Rialto Beach to Hole in the Wall
- 15 Best Hikes in Olympic National Park
- Hiking Mount Storm King
- 16 AWESOME Things to Do in Forks
- 21 BEST Things To Do in Port Angeles
We hope this post helped you discover more about the Mount Storm King Hike! Don’t forget to check out other great hikes in Washington.